Premium: Paid Software Options & Accessories
These features are only available to clients who have purchased the Sixaola Premium Software Suite. Please contact sales@osop.com.pa for pricing.
Software: CAPS Mode
See CAPS Mode (Premium Feature)– NEW!!! for more details.
Software: Zero config server frontend (Darien Client Mode) Configuration
See also Darien Client Mode (Premium Feature)
When in Darien Client Mode, stations connect to the Zero Config Server (ZCS).
Steps to change ports & IP of the ZCS:
Edit the settings at /opt/zero-config-server-frontend/settings.py
$ nano /opt/zero-config-server-frontend/settings.py
Change the IP and Port, save and exit. The ZCS server will be restart automatically.
Note
You must have the port open for incoming connections and the IP of the server must be a public IP or a NAT.
Steps to configuring Zero Config Server Frontend:
- Open Google Chrome browser
- Use the following URL: http://IP_SERVER:PORT
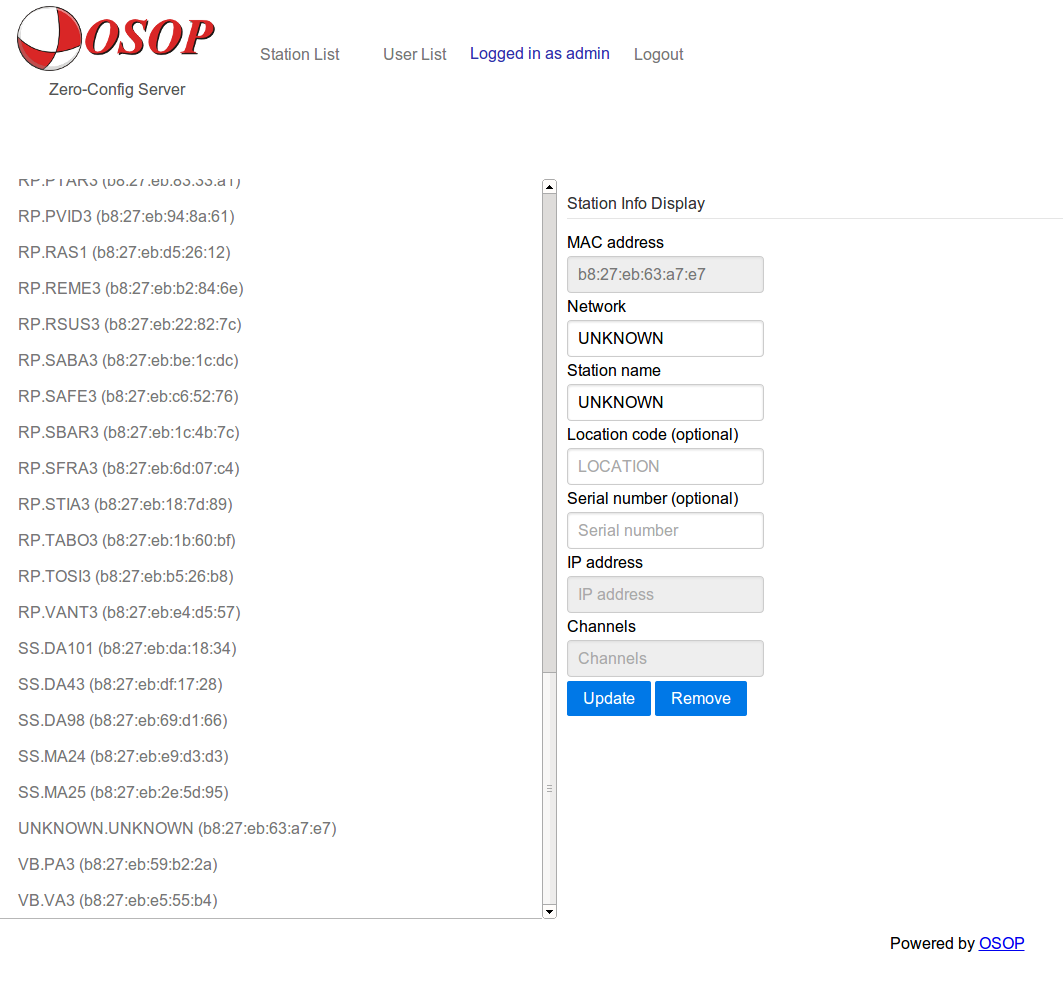
The browser will show you an interface similar to this:
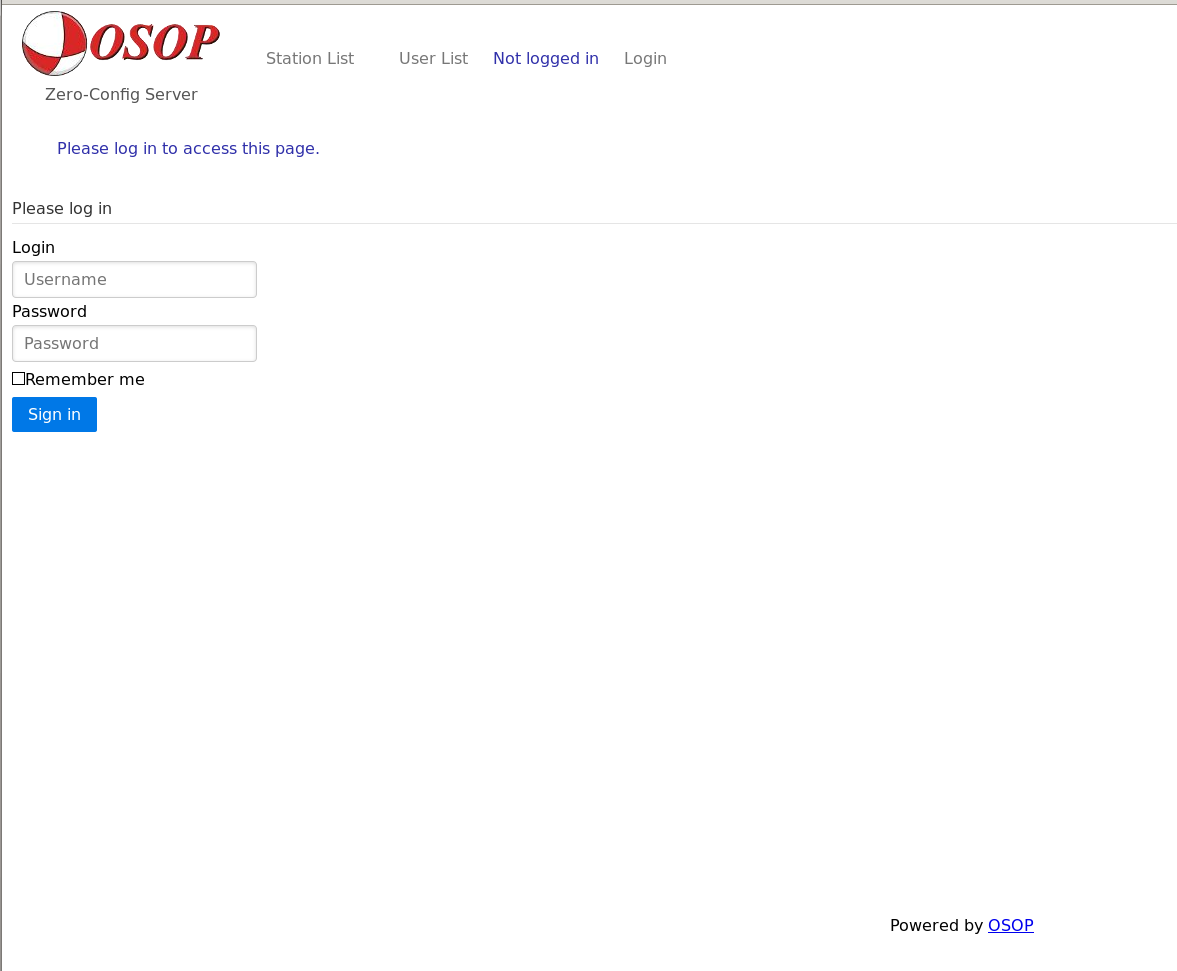
Zero Config Server Web Interface
The default user & password are osop:osop.
Steps to add a new station:
- Select ‘Station List’.
- Click ‘Add New’.
- Fill in all values.
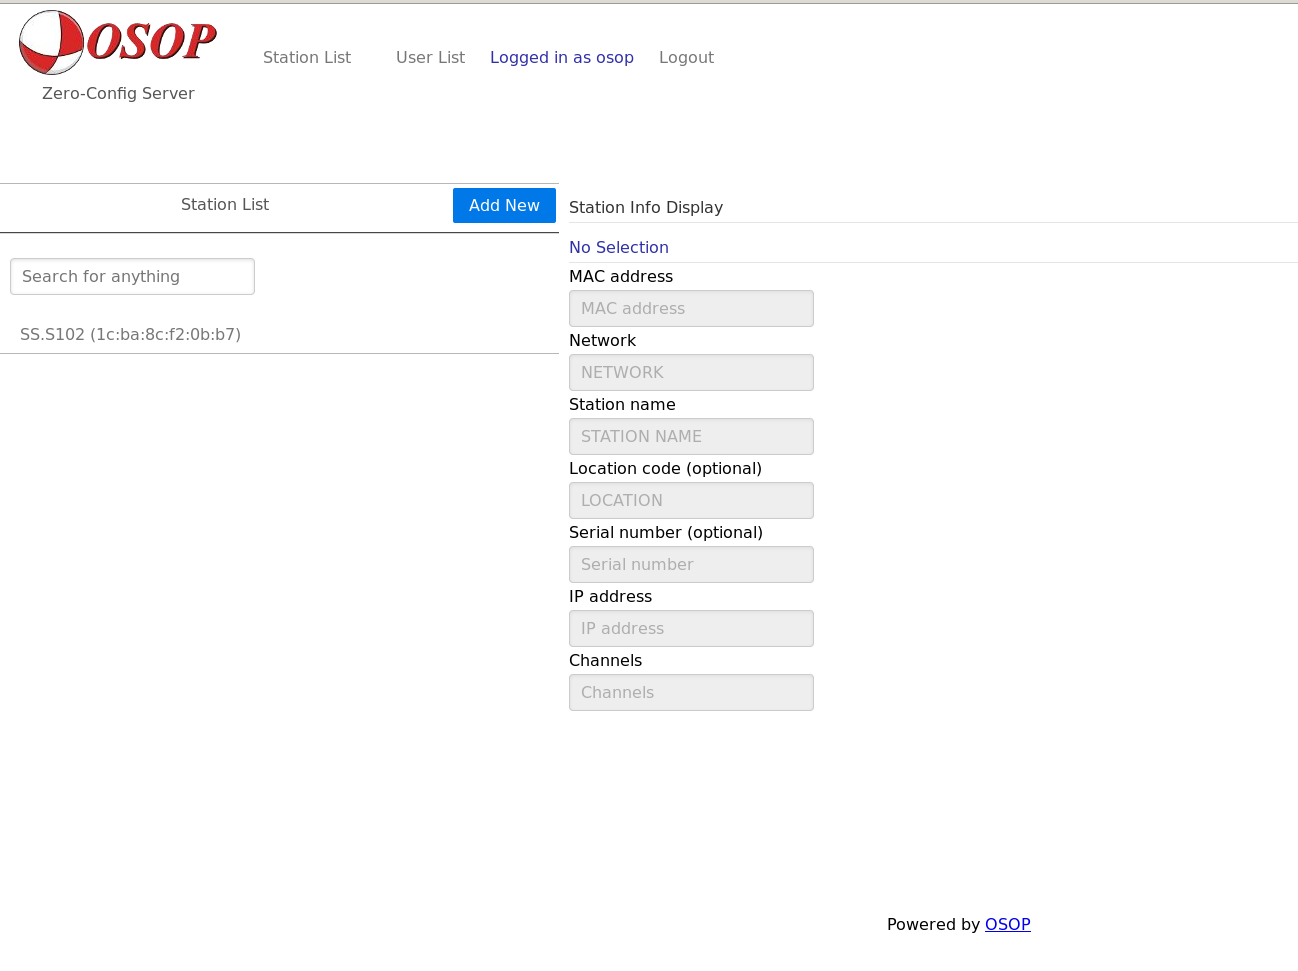
Adding a new station
Steps to remove a station:
Select the station and click on ‘Remove’, the system will ask for a confirmation, click again on ‘Remove’.
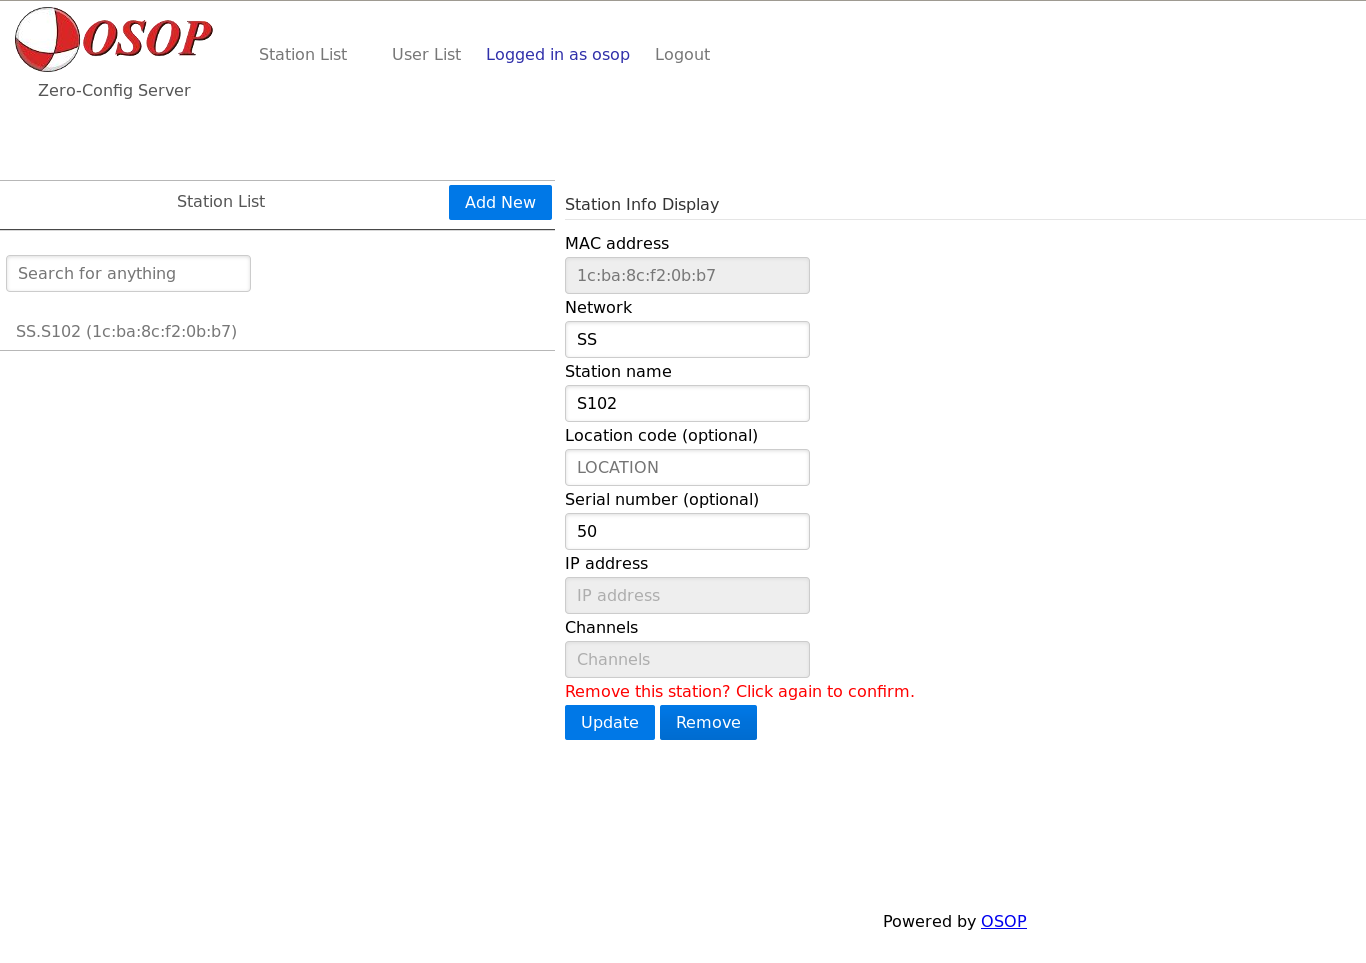
Removing an station
Steps to change users/ permissions:
You can add and delete users and change their permissions using the item ‘User list’.
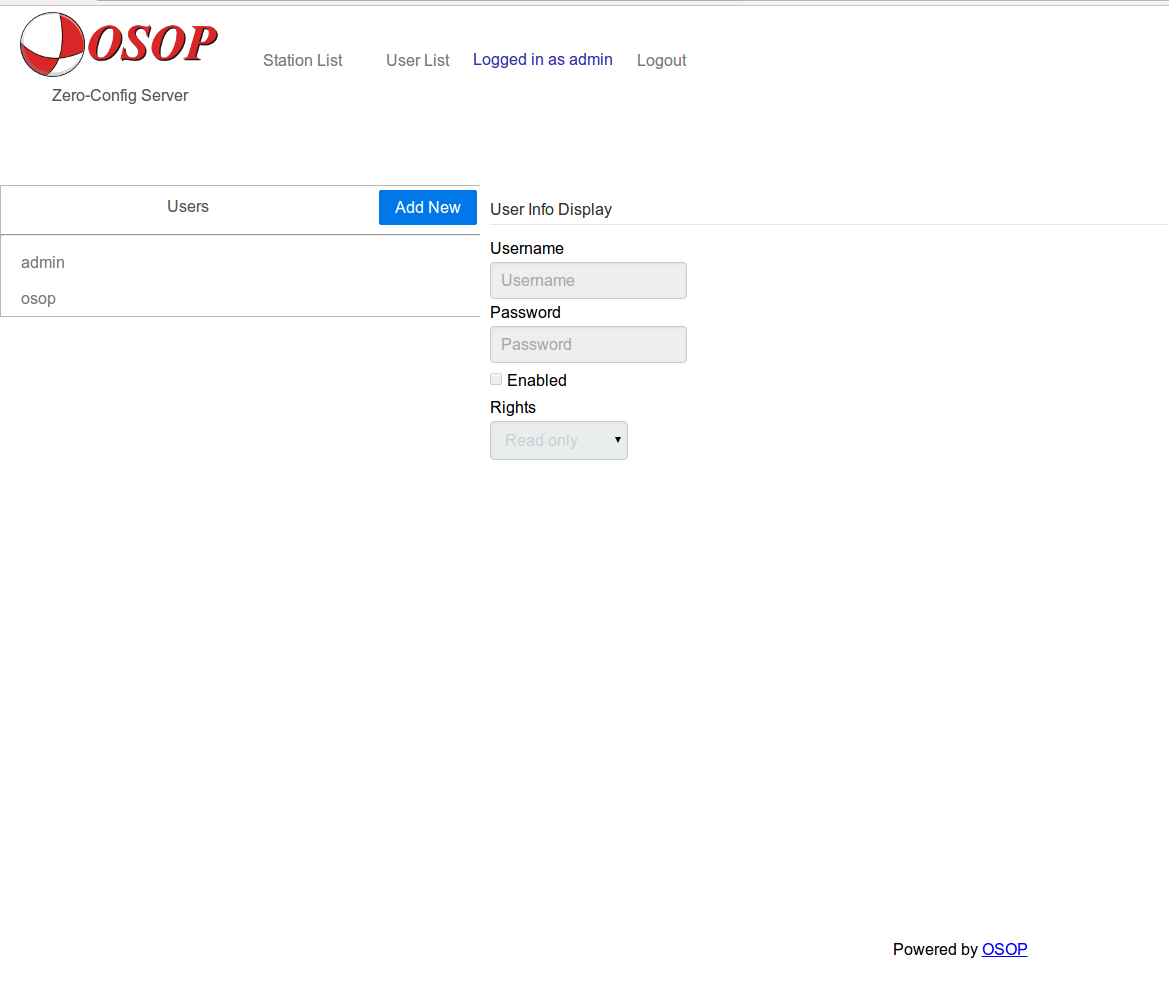
Users & rights
You can add a new user by clicking on ‘Add new’. You will then be prompted to choose a username, password and to define Rights.
You will find three types of rights:
Administrator: The superuser (all rights, all permissions).
Read only: The user only has persmission to read the items & values.
Edit: The user has permission to read & write items & values.
When the server detects a new connection that was not previously been configured, the interface will include the new station as ‘Unknown.Unknown’.
An ‘Unknown’ station
Select the station and then fill in the appropriate values.
Steps to getting the data from the ZCS into SeisComP:
- Import the dataless into SeisComP using scconfig.
- Open the station bindings tab in scconfig.
- Create a new acquisition profile for the ZCS, choose and configure the ODF plugin option.
- Save the changes, update the configuration and reboot SeedLink.
- Confirm data is flowing into SeisComP’s SeedLink server using slinktool.
Software: Tunneling Configuration
Tunneling allows the Sixaola to break through Firewalls and connect to a central server.
The Sixaola will establish a tunnel with a central server on a Server IP and Port.
The tunnel will be authenticated using a Name and Password.
Once the tunnel has been established, you can ssh from the central server to the Sixaola via the Client IP.
- Configuration parameters include:
- Server IP- The central server IP. Configured server-side at /etc/default/vtun. This is the same for all Sixaolas and must be a public IP.
- Port- The central server port. Configured server-side at /etc/default/vtun. This is the same for all Sixaolas.
- Client IP- This will be the IP you use to connect to the Sixaola through the tunnel. Configured server-side at /etc/vtund.conf. The client IP configured here is equal to the client IP configured at the server + 1 (If the client IP configured at the server is 10.0.4.11, then the client IP configured at the Sixaola will be 10.0.4.12). It is also important to note that every tunnel requires 4 IPs. So at the server-side, you must configure each new Sixaola accordingly. An example is given below. The client IP’s CIDR is automatically assigned.
- Name- The name associated with the Client IP. Configured server-side at /etc/vtund.conf.
- Password- The password associated with the Client IP. Configured server-side at /etc/vtund.conf.
Note
You must have a tunneling server installed at your observatory.
Note
Each Client IP, Name and Password must be unique.
Steps to configuring Sixaola tunnels server-side:
Add a new entry to the end of /etc/vtund.conf
$ sudo nano /etc/vtund.conf
Example server-side configuration at /etc/vtun.conf
options {
port 8080;
timeout 60;
ip /sbin/ip;
syslog daemon;
}

sixaola1 {
  password s1x40l41;
type ether;
proto tcp;
device tap1;
persist keep;
keepalive yes;
encrypt no;
compress no;
 up {
 ip "li set %% up";
ip "addr add 10.0.4.1/30 dev %%";
};
down {
 ip "li set %% down";
 };
}


sixaola2 {
  password s1x40l42;
 type ether;
proto tcp;
 device tap2;
 keepalive yes;
 persist keep;
 encrypt yes;
 compress no;
 up {
   ip "li set %% up";
  ip "addr add 10.0.4.5/30 dev %%";
   };
 down {
  ip "li set %% down";
 };
}

sixaola3 {
password s1x40l43;
type ether;
 proto tcp;
device tap3;
 keepalive yes;
persist keep;
encrypt yes;
 compress no;
up {
  ip "li set %% up";
 ip "addr add 10.0.4.9/30 dev %%";
  };
 down {
  ip "li set %% down";
  };
}
- Notice that:
- tap increases sequentially with the addition of each Sixaola
- The IPs increase and jump 4 units with the addition of each Sixaola. This is because each tunnels requires 4 IPs (e.g., tunnel “sixaola1” will use IPs 10.0.4.[1,2,3,4])
Restart vtun
$ sudo service vtun reload
Configure the Sixaola using either the web interface or blueconf
Connect the Sixaola and confirm that the tunnel was established. At the server
$ sudo ifconfig
Look for the tap that corresponds to the new tunnel.
Note
In order to establish a tunnel, the Sixaola and the machine where the tunnel server is installed must be in different networks.
Hardware: Bluetooth
You can add a hardware bluetooth option to your Sixaola which will allow you to connect to the Sixaola from an Android phone or tablet. This option must be specified at the time of ordering.
Hardware: Other Accessories
GeoFlex accelerometer.
IP66 metallic enclosures.
BlueTerm for Android connection and configuration.
8 Gb Internal non-removable USB for onboard storage or datalogging.
8 Gb External removable USB for onboard storage or datalogging.
External USB connector for external storage or video.
CAT5 RJ45 Ethernet cable with IP68 connector.
Samtec RJ45 DIY connector.
GPS - Normal antenna.
GPS - High gain antenna.
See Order Guide for more details.