Solar Power Recommendations#
Contents
Introduction#
This section of the manual is intended to give you some examples of solar power systems being used by other Raspberry Shakers that you can use as a starting point to design your own system. In the end, the actual dimensions of the solar power system you design will be based on the amount of sunlight at your latitude, the time the system is expected to run without street power and other factors.
Warning
The Raspberry Shake requires a 5V DC (2.5 Amp) power supply. Passing 12V will fry the Raspberry Pi computer and, in all likelihood, also the Raspberry Shake board. For any USB charger, be sure it gives 2.5+ Amps and then test it when it comes as we have found that many manufacturers report 2.5 or 3 Amps but the equipment does not meet spec.
Warning
Depending on the design, the solar panel system may generate vibration (similar to trees but higher frequency) so it might need to be located some distance from your Raspberry Shake.
For Raspberry Shake power consumption requirements, see: Technical Specifications Documents
General Recommendations#
Avoid starting “cheap”. You pay twice!
If possible use a solar tracker which moves the solar panel with the sun. Two axis systems have the advantage of allowing the operator to bring the Panel into a night/sleep position to avoid snow load on the panel, or if there’s snow falling on over the day, to swing the panel nearly vertical to get the snow load off. They have also the option of serial and LAN connections for remote control of the solar panel position.
Use a solar controller which cuts the power off when the batteries get discharged and switches on again at a certain battery Voltage. This will help to keep your battery healthier. Also use temperature compensated charging.
Don’t use an 100% airsealed box. Most batteries create explosive gases during charging.
If possible use a kind of remote controllable switch to shutdown secondary systems when you see that the batteries are getting depleted.
Power Supply-specific recommendations#
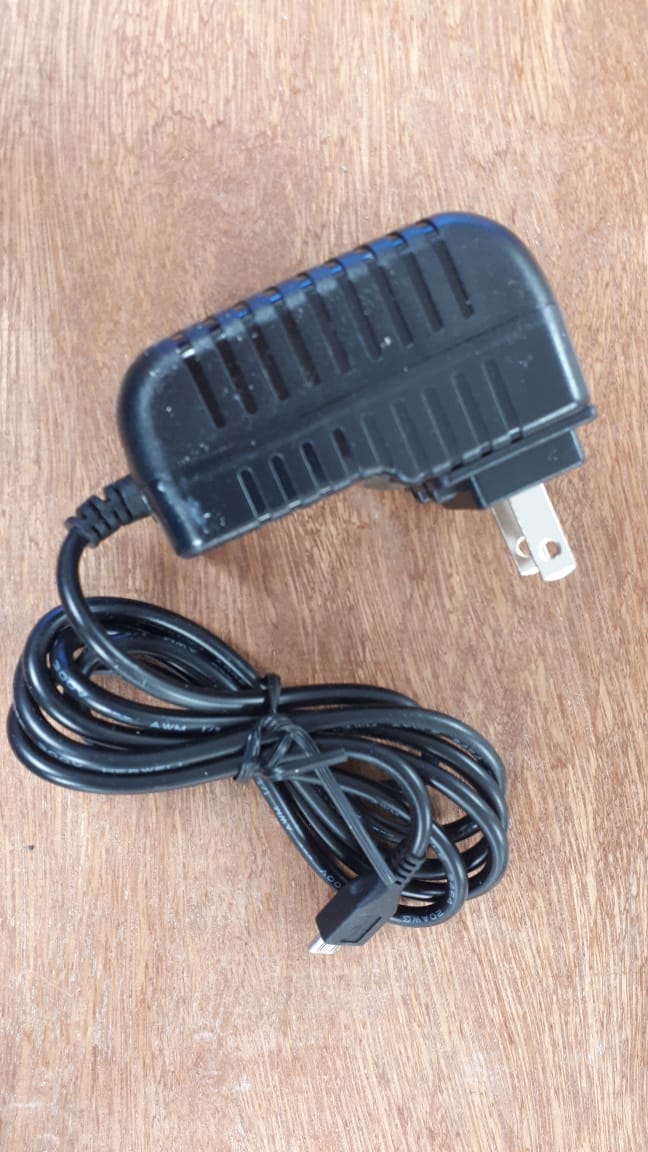
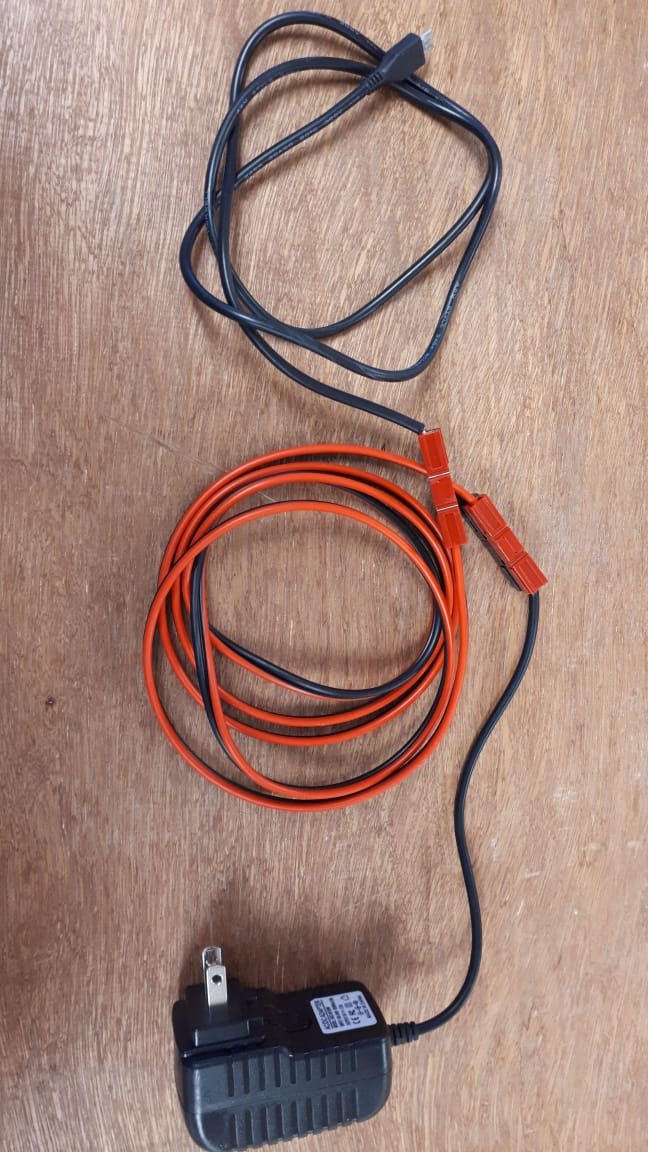
We ship a 5.1V, 2.5 Amp power supply with the Raspberry Shake that has a continuous ~1 meter long with a wall plug on one end. If you need to either a) extend the cable; or b) remove the wall plug in order to attach to a solar charger/ 12 to 5V converter, we recommend cutting the cable and inserting Anderson connectors. For example,
Before (click to enlarge):
After:
Note
If you are planning to use a longer cable than we provide, be sure to calculate the wire gauge needed in order to minimize any loss of voltage. The RPi requires 5.1 V at 2.5 Amps to boot properly.
Tools for calculating your solar system’s dimensions#
Here is a great presentation developed by Marcel Stieber for his local ham radio club. The focus is on solar solutions for off-the-grid applications. The slide deck contains links to calculators. The last page is full of links, but there’s good info embedded in the presentation as well.
Useful links:
Example 1: The Thorsten setup#
A 150 Watt solar panel >> standard 65 Amp hour lead acid car battery >> solar regulator with USB output >> Raspberry Shake.
Location: Germany
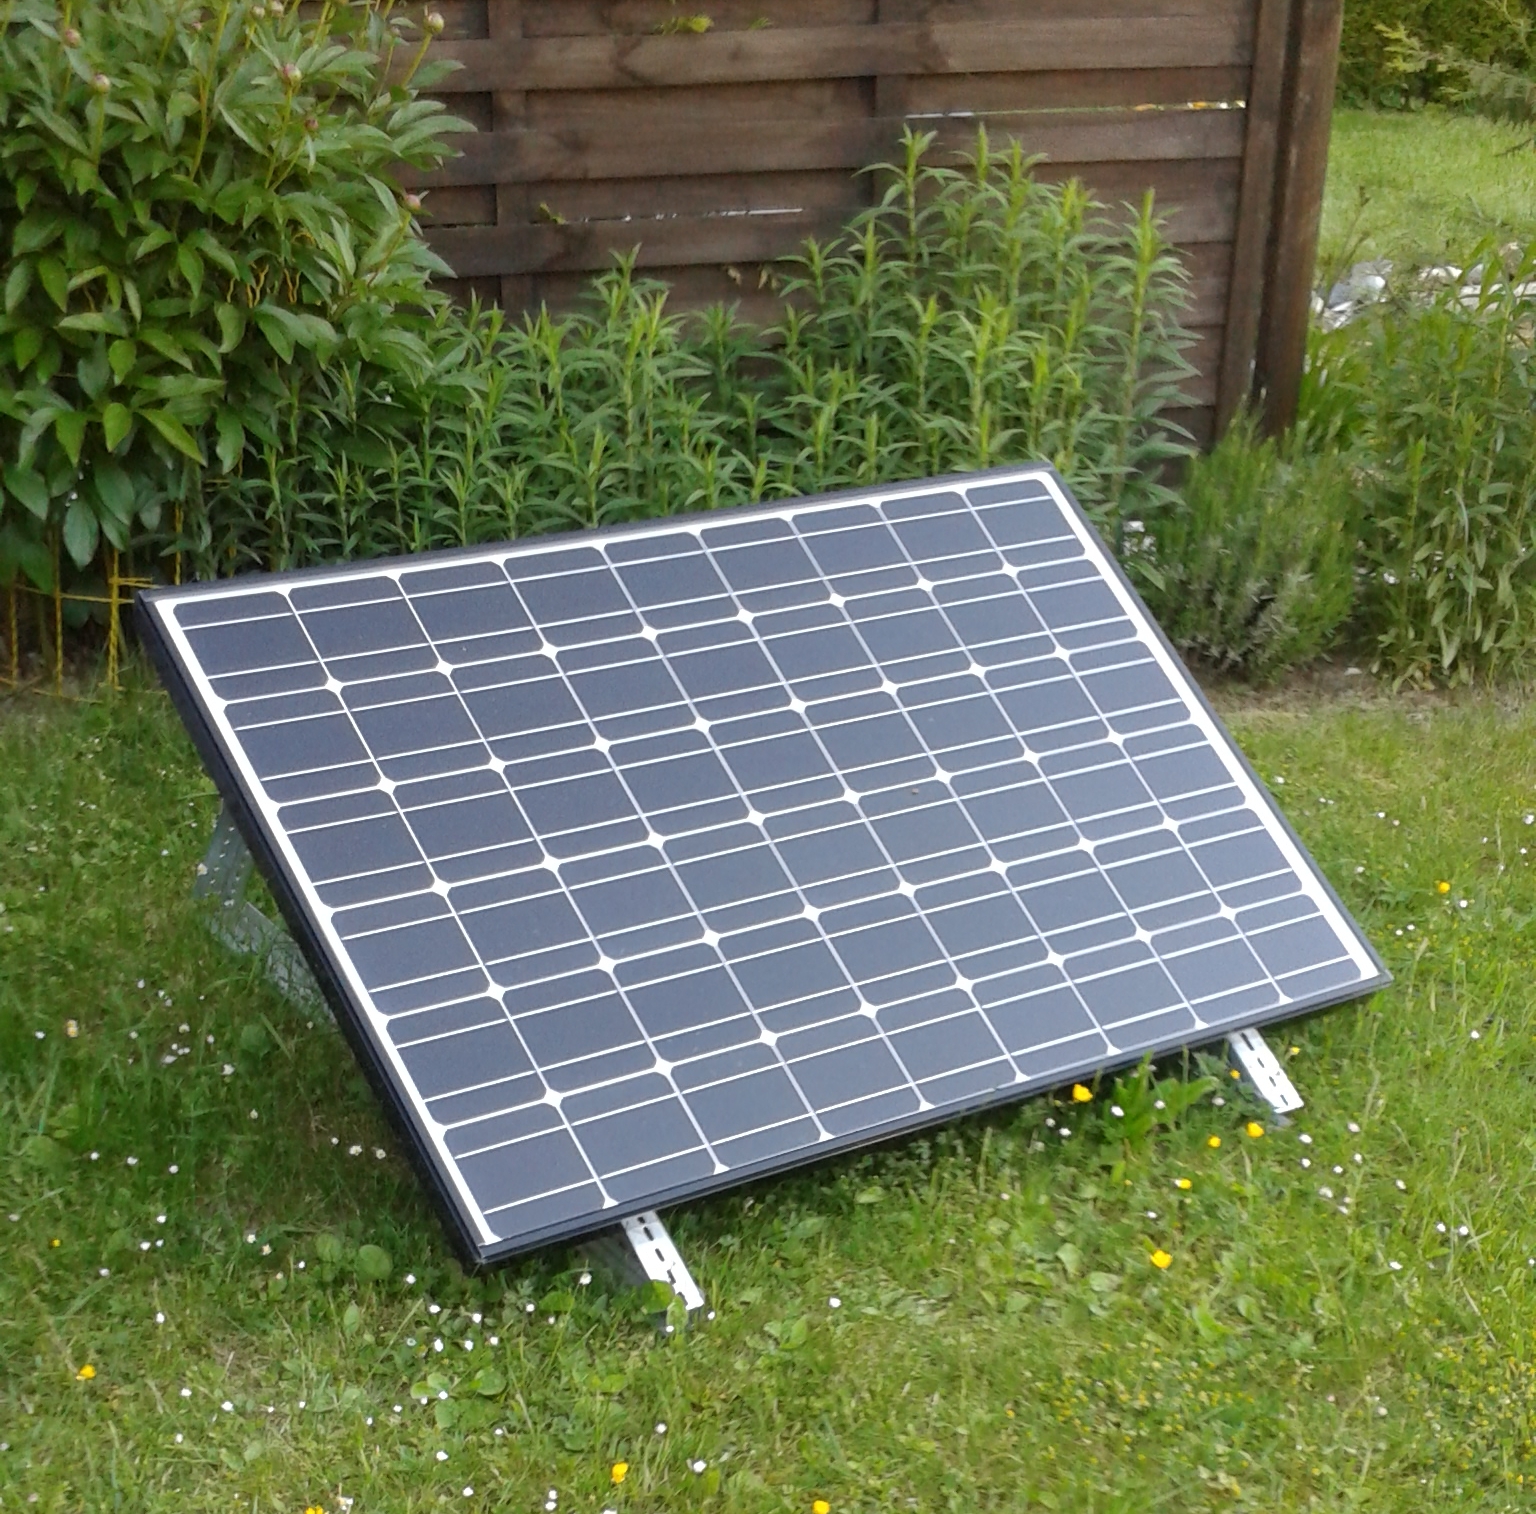
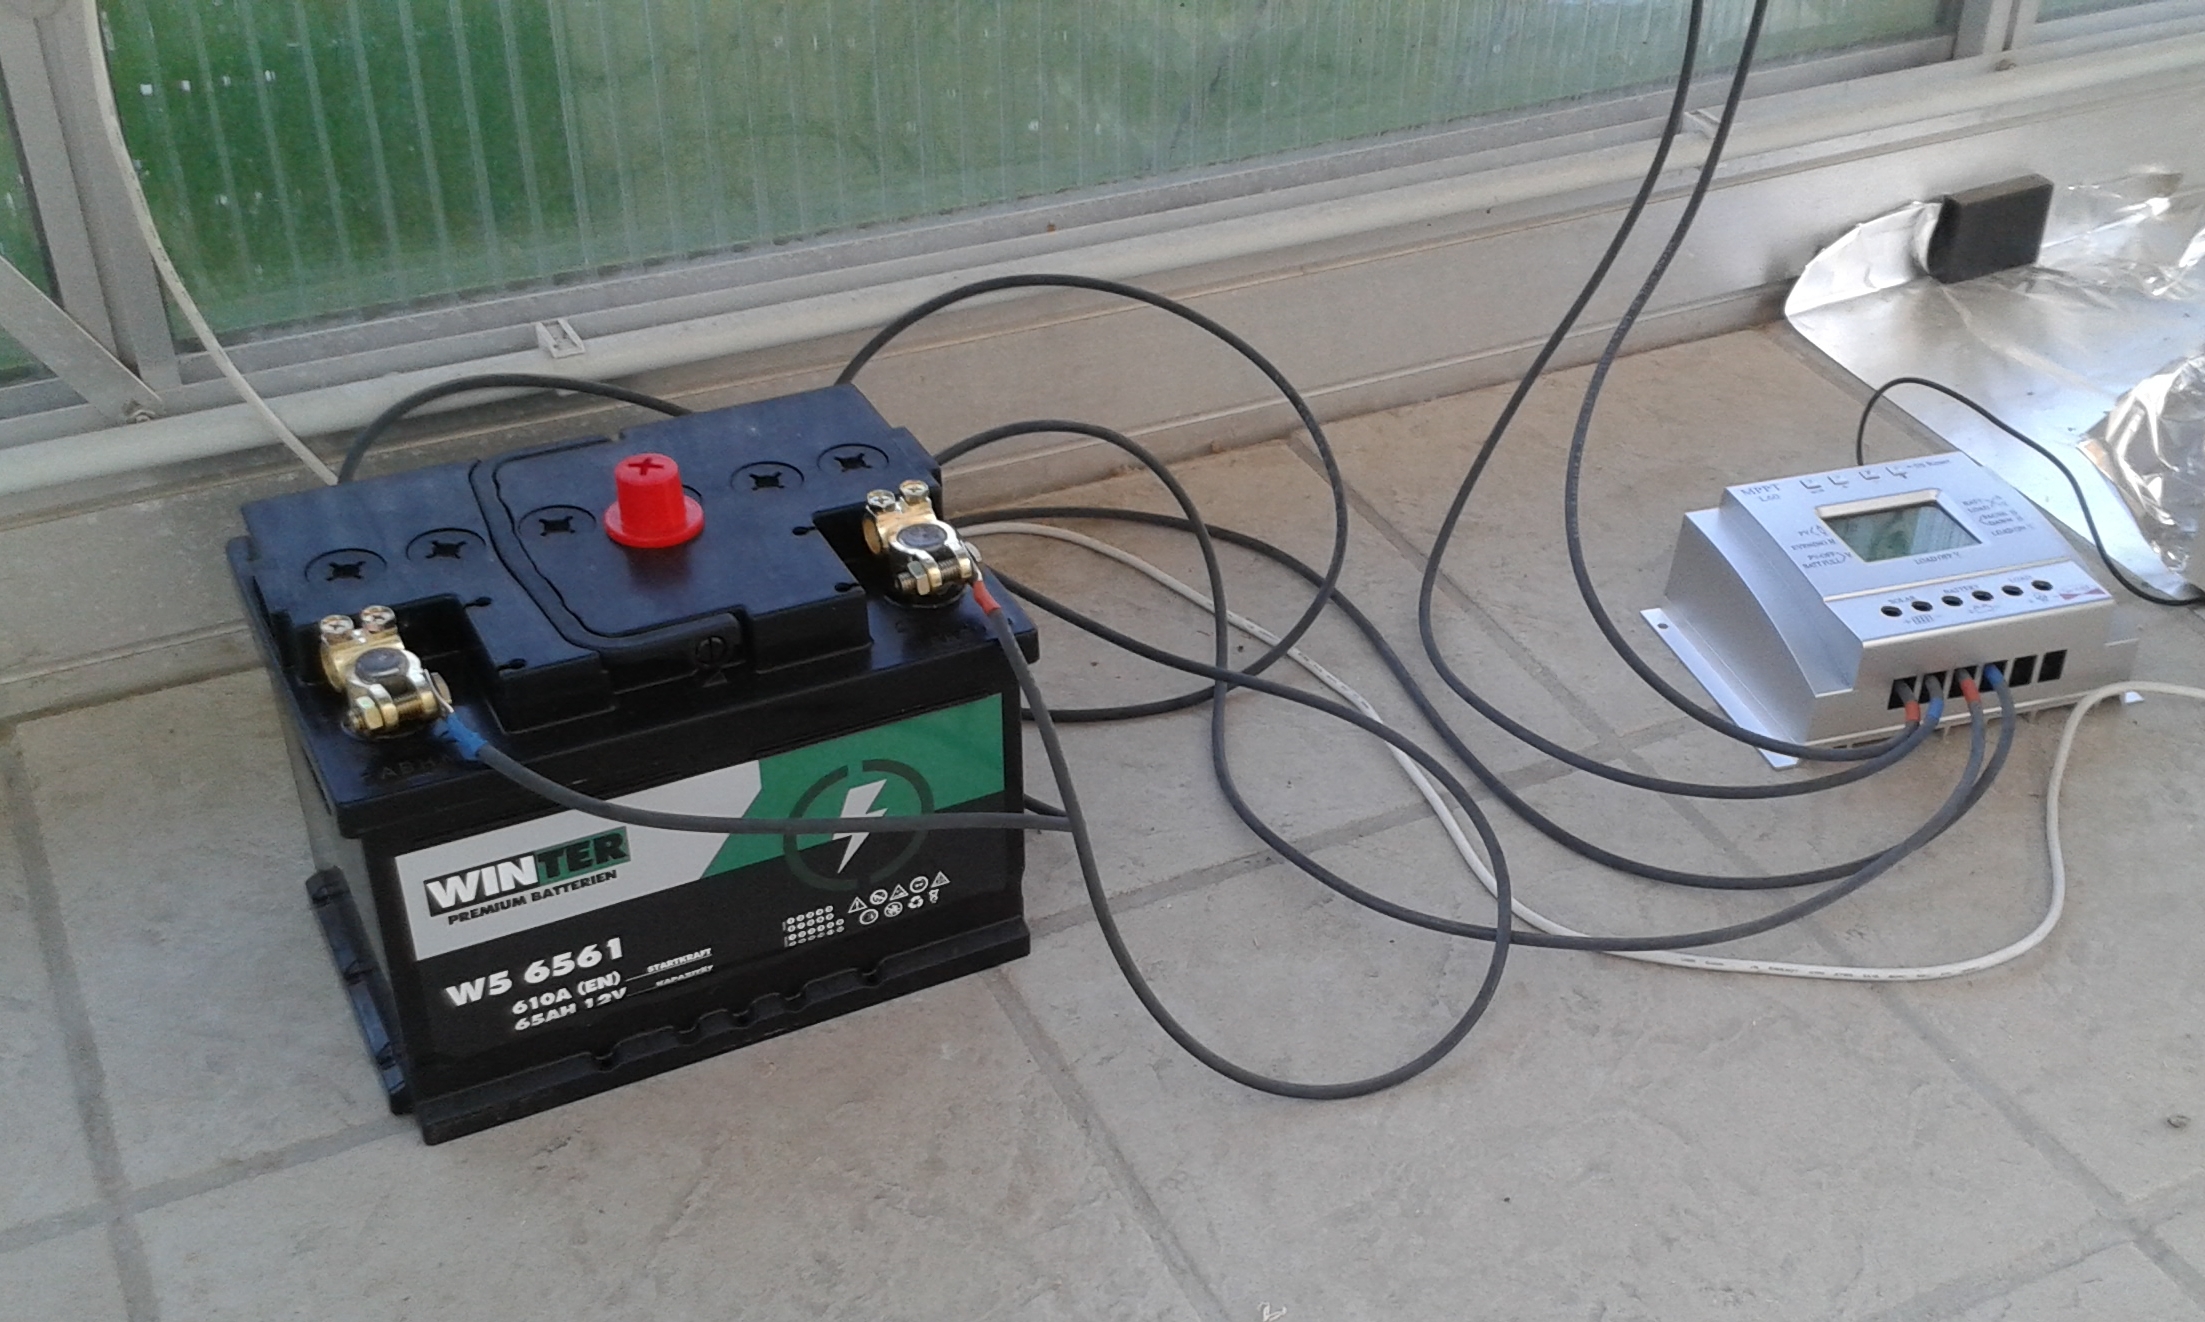
The regulator being used: MPPT L60A. Powering the Raspberry Shake with a USB cable is plug-and-play.
Example 2: The Jochen setup#
This solar powered solution drives a lot more than just the Raspberry Shake.
Location: Switzerland
Includes:
Waterproof aluminium box for 2 x 12V 200 AH batteries.
Solar Tracker to catch the most amount of sunlight possible, especially in the short winter days. (It worked now for two winters with temps down to minus 20°C without any problem)
240 Watt Solar Panel
MPPT Solar Charger with RS422 Port, which delivers statistic abt. the charging and discharging of the batteries.
In the box is a 12 Volt LAN Switch, a LAN controllable 8 Port Relay switch, a small PC (18Volt) a 4 Port Serial to LAN converter and a 5 GHz Radio Link to the house plus
The box is also chucky jam full of science equipment
12 to 5 V power converter with 3-4A continuous output for Raspberry Shake
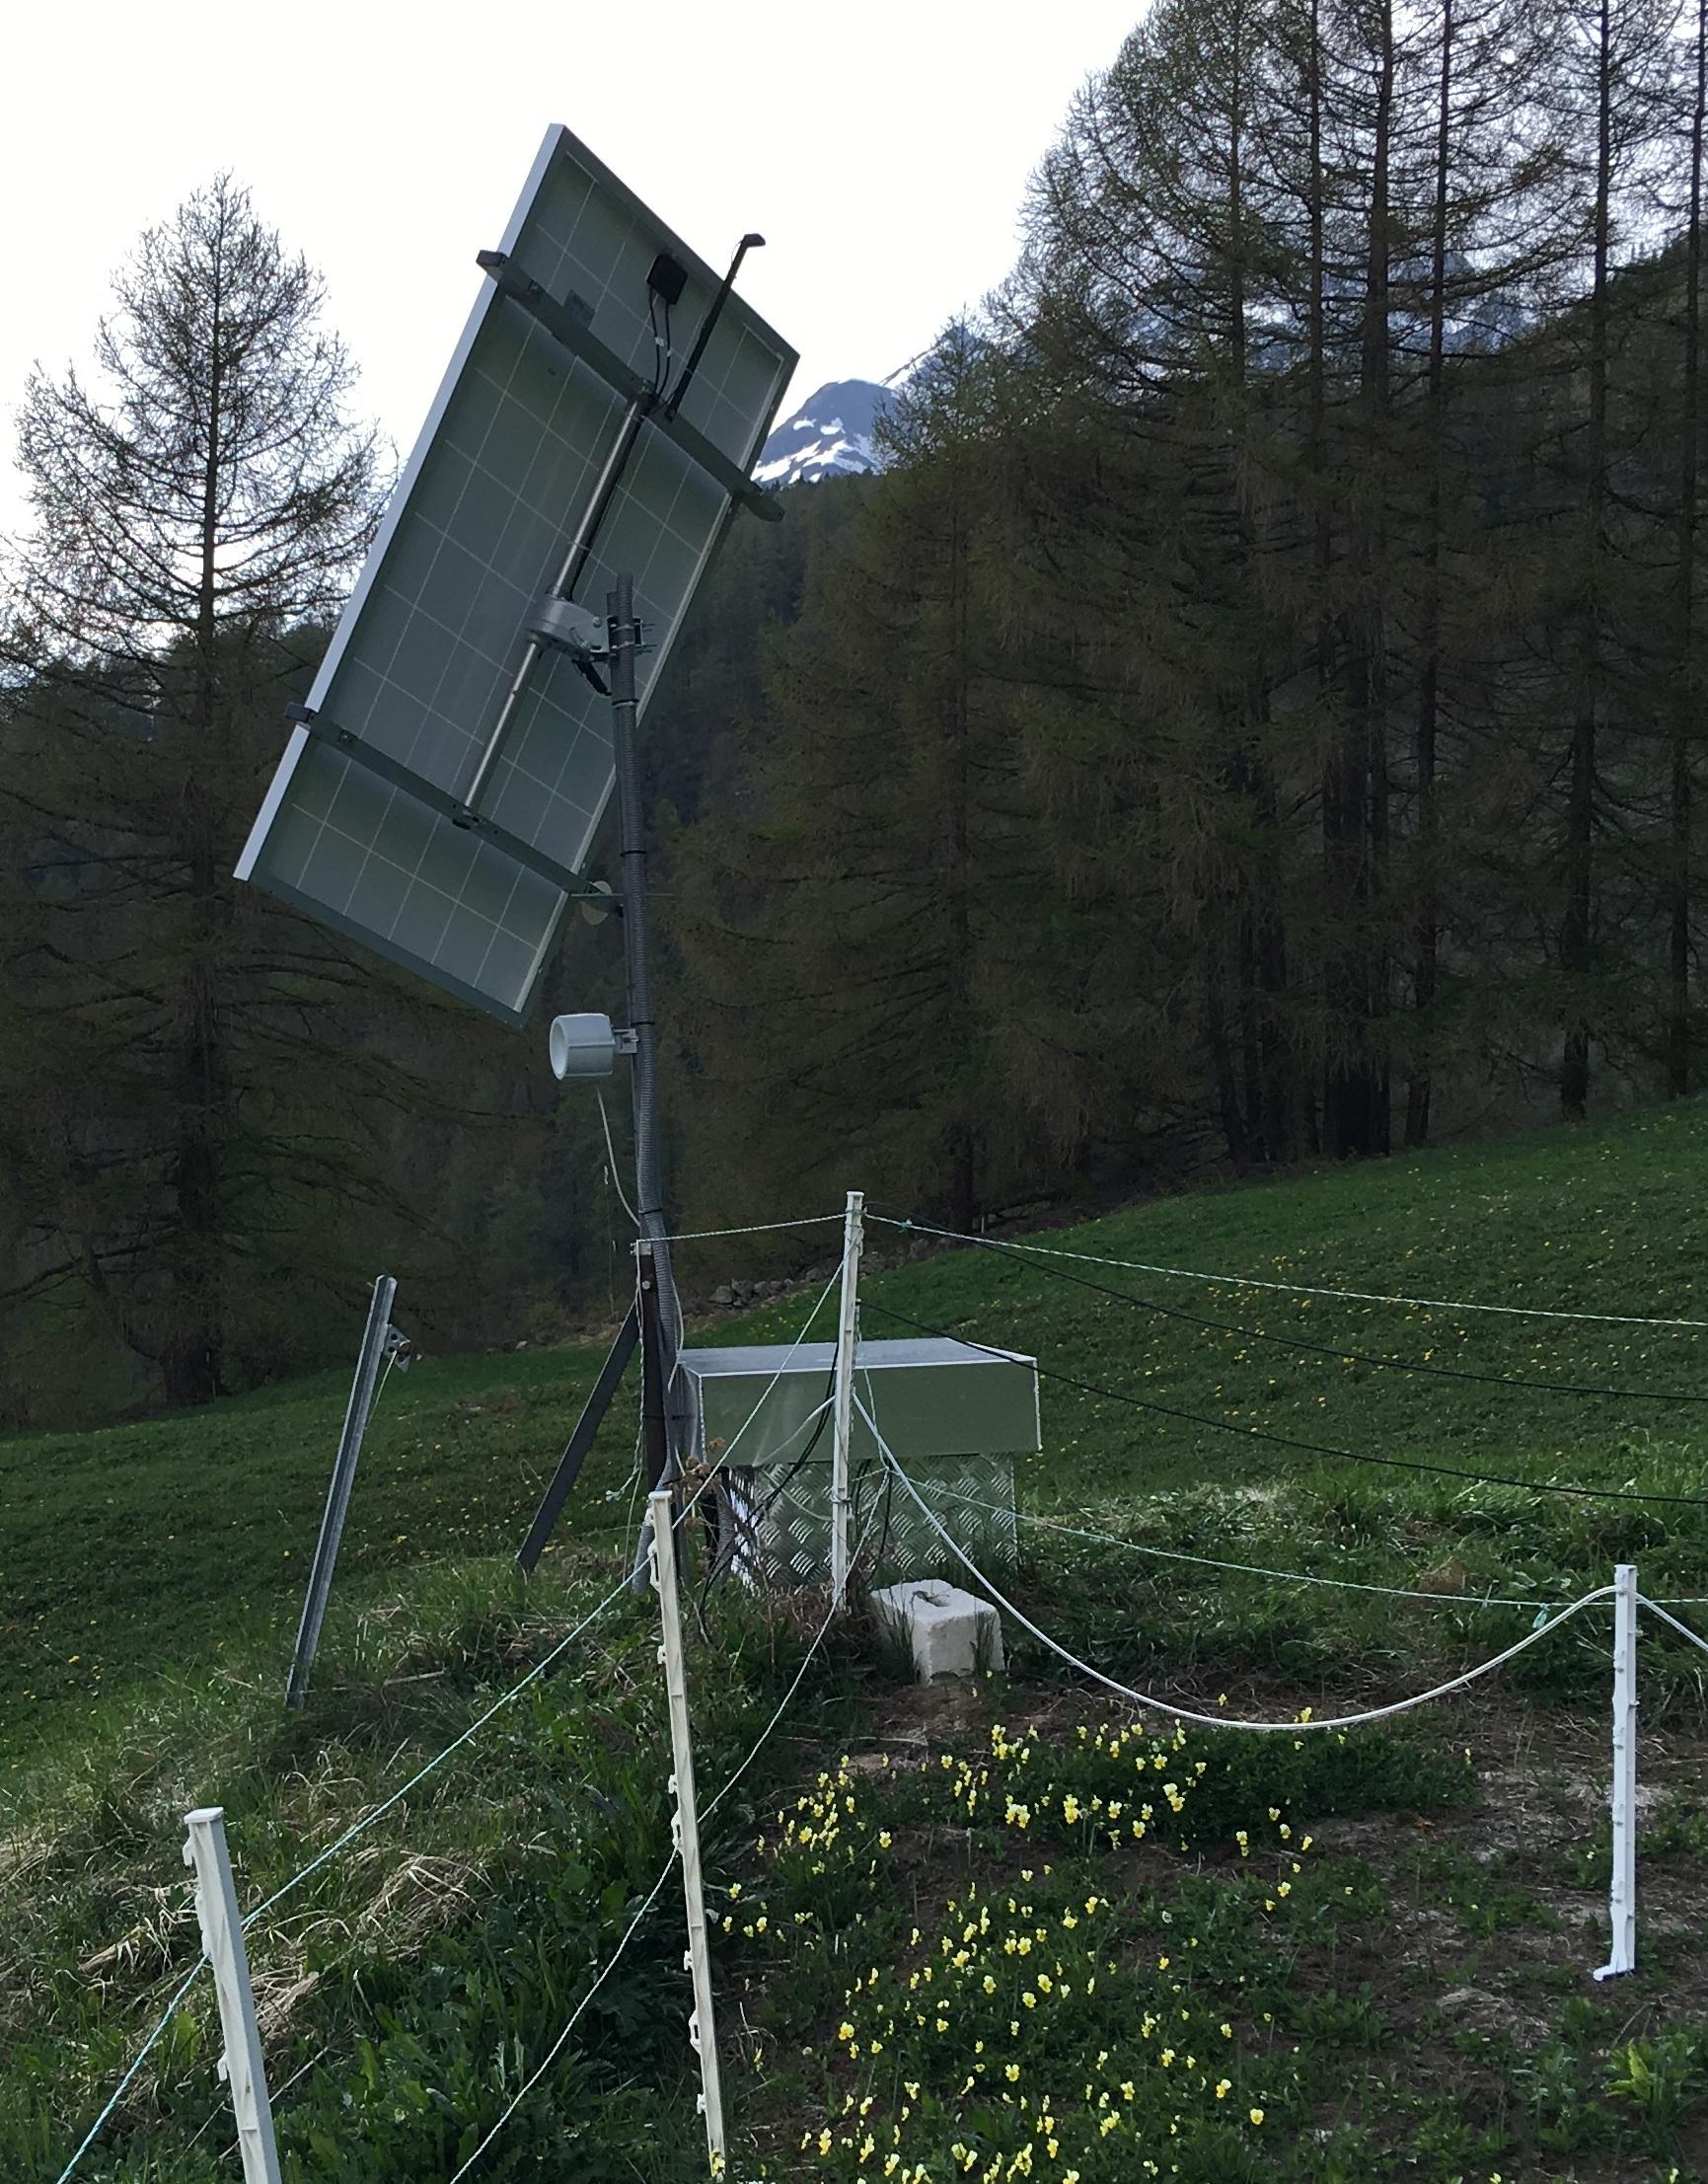
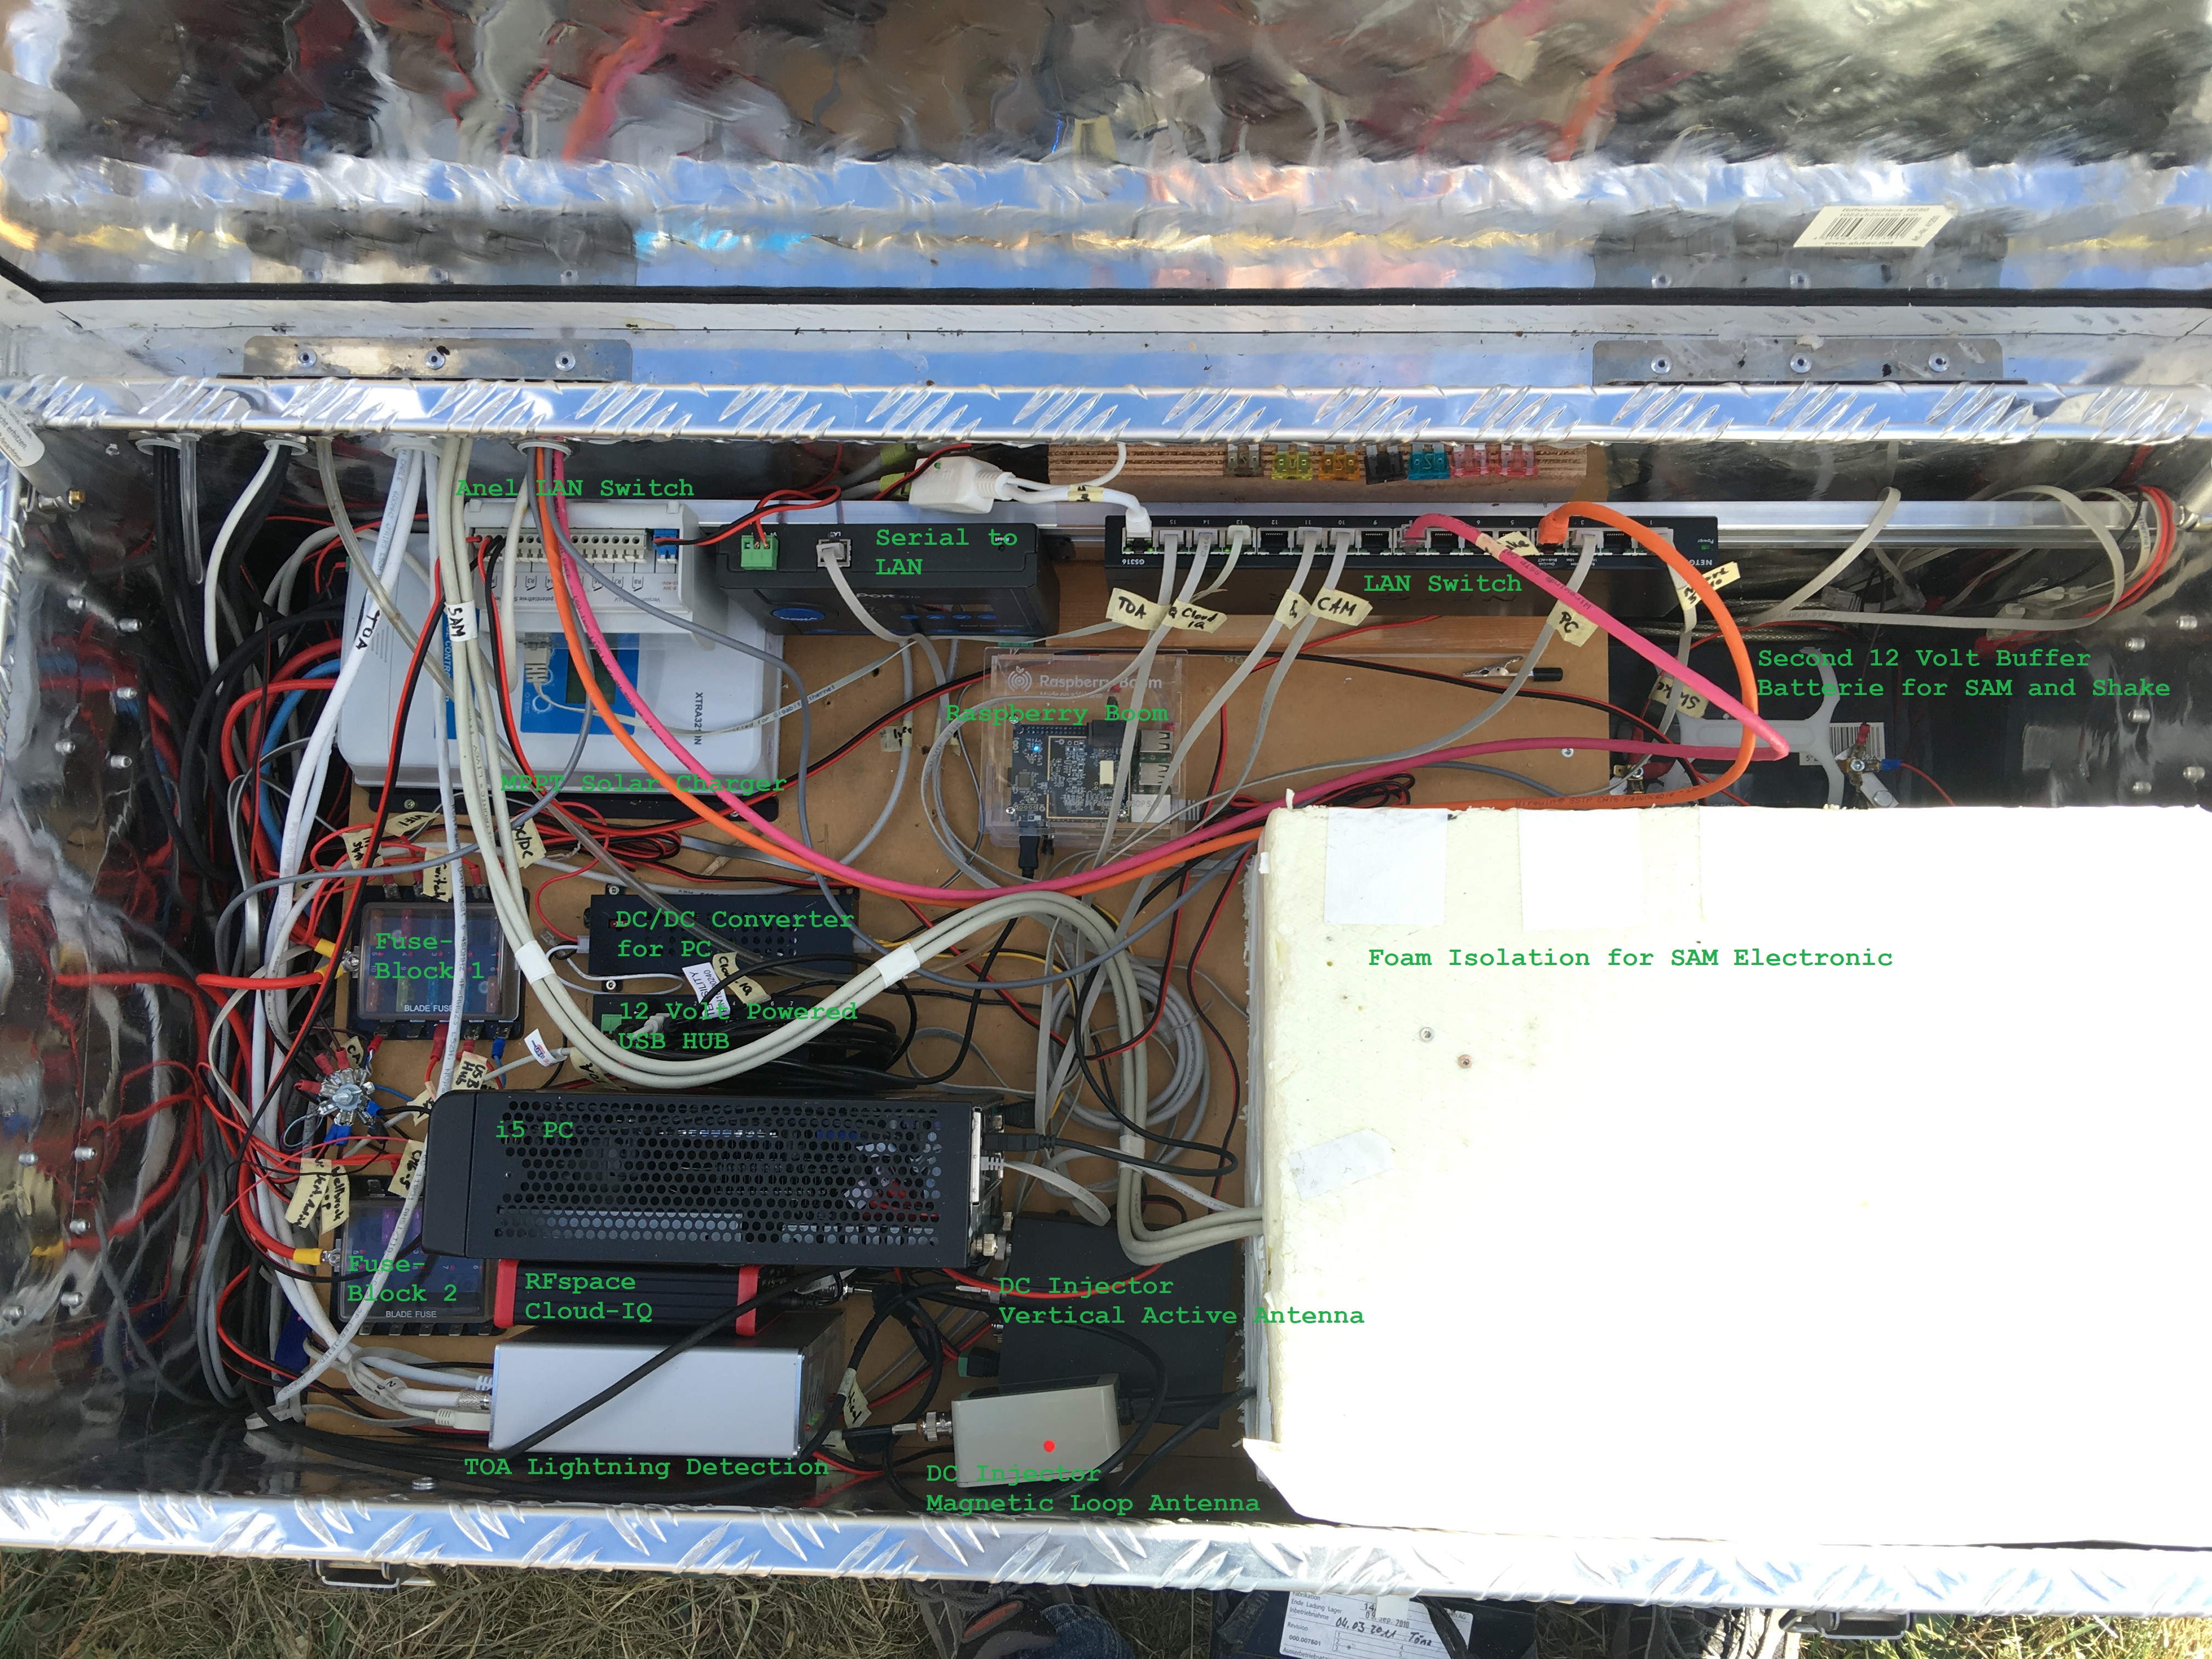
For more pictures and details, see: Die Wetterstation and scroll down to the Section entitled “Details und Bilder zu meiner Messger te Installation”.